Exercise: Hierarchy

This exercise asked me to consider the different approach for three different editorial style pages;

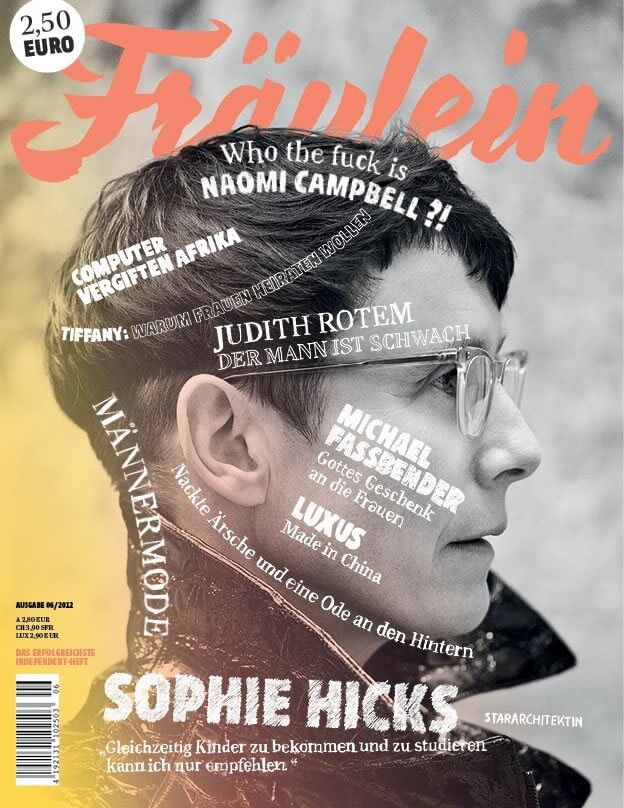
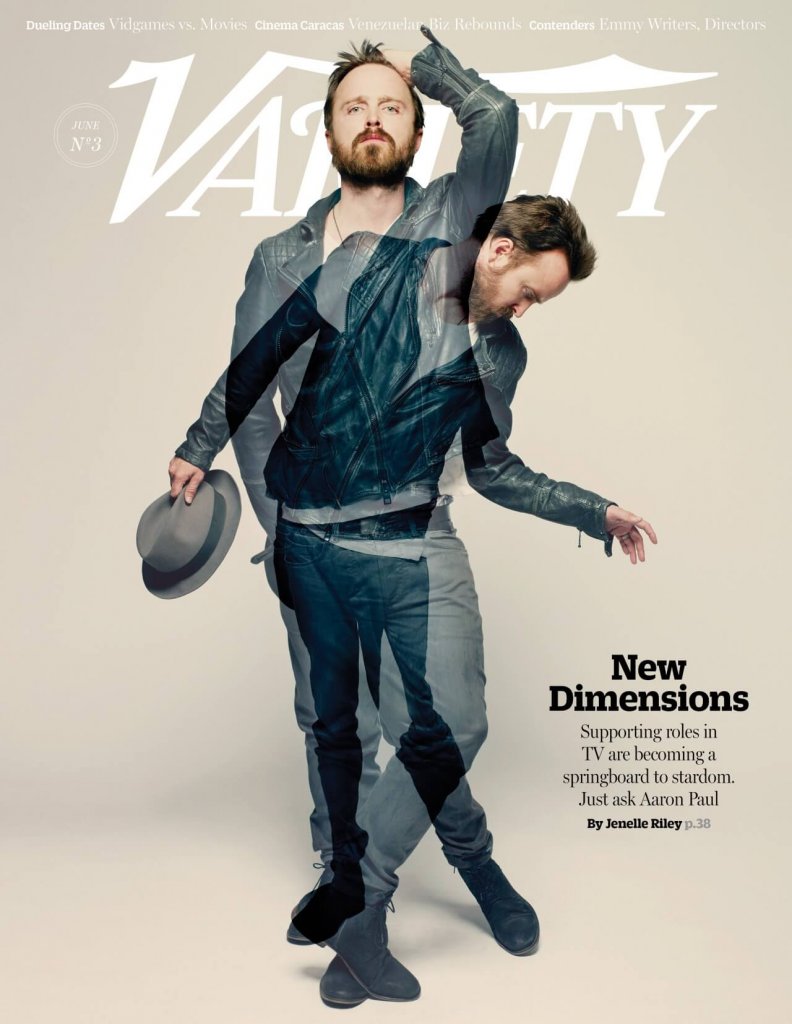
• An interview with a tv actor in a tv listings magazine

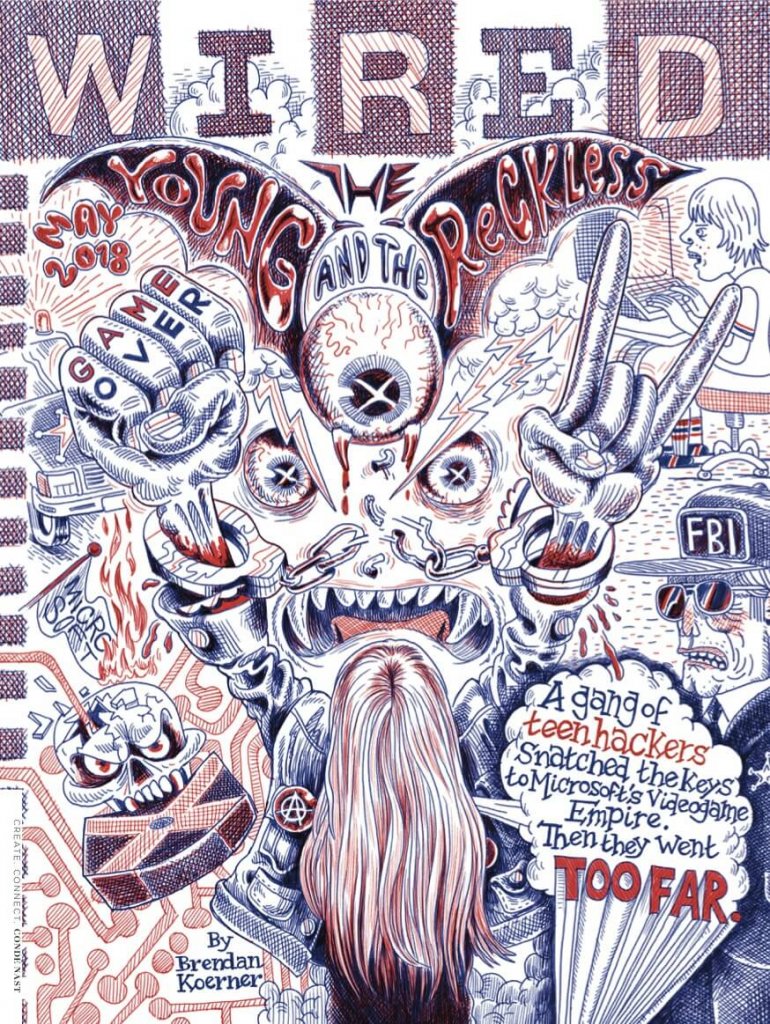
• A review of a new piece of hardware or software in a specialist computer magazine

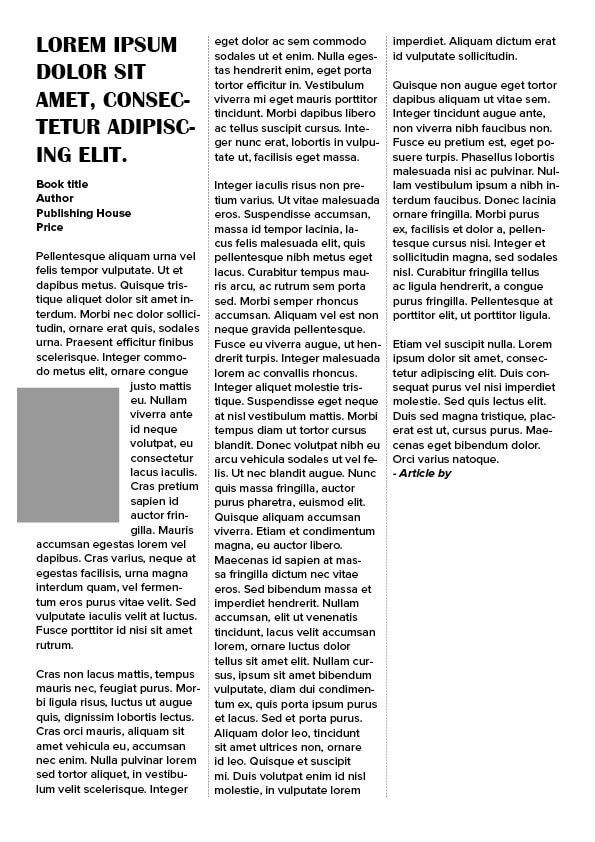
• A book review in a newspapers weekend edition.

I first attempted this in adobe photoshop, and quickly decided to use indesign, it really is the best software to use, its tools are so better suited, text is easier to arrange and layout, it can edit and tweak columns and add images with text wrap, it is what the professional’s would use so switching was a good choice.

First I attempted the tv actor interview, I set up my working space and added in a text frame, I set 3 columns and my gutters, my font size was 12 pt, and on this and all the examples I decided to keep to a set rhythm with 12pt as my base, moving up in increments of 8pt and if that seemed to small then 4pt could be dropped.

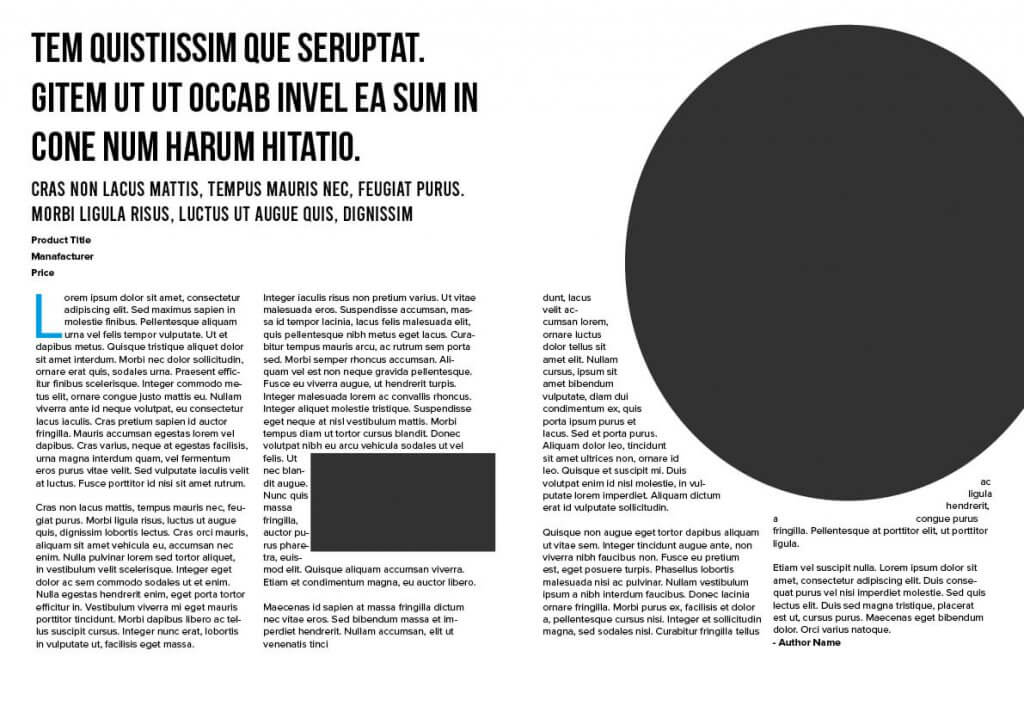
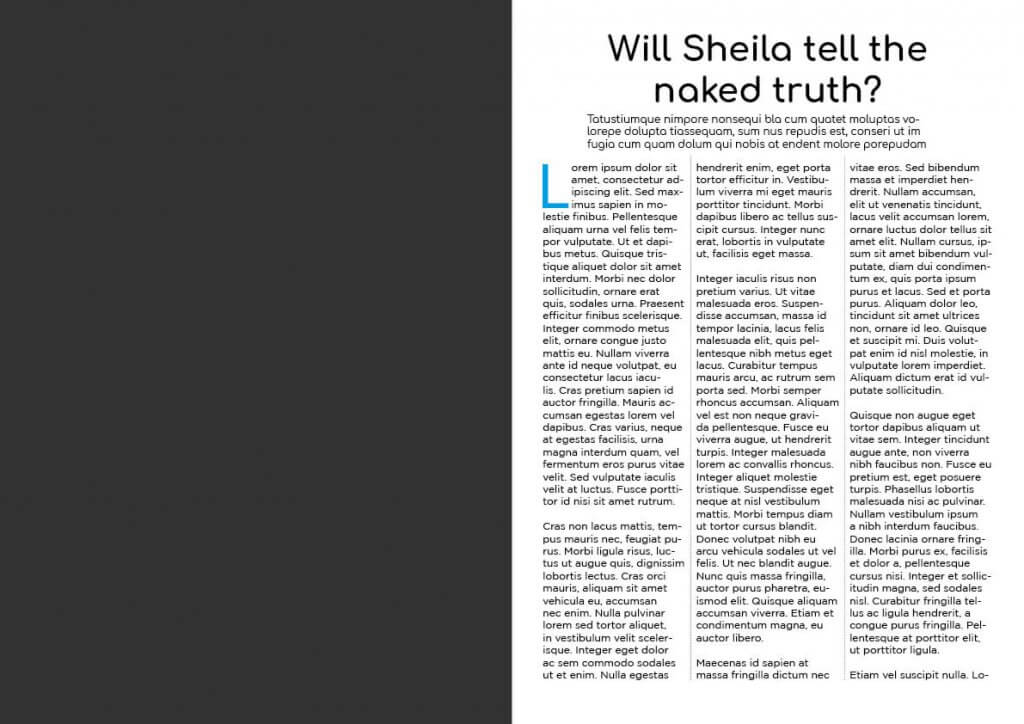
I imagined this article to be a double page spread with the image on the left, a large header in bold (40pt), this would likely be a typeface that the magazine uses throughout, then a sub header (12pt) to serve as a summary of the content, something to grab the readers attention, this was the same typeface as the header but presented smaller. for this I used Comfortaa a sans serif type with a distinct character. The body copy was 12pt regular and for this I chose Gotham book, purely as it was easy to read over several columns of copy.

The next was the product review in a computer magazine, these articles seem to be very airy, some space the copy is broken up and leans heavy on imagery. the title has to be attention grabbing and preferably offering soem sort of benefit, then header and sub header here is, again in the same house style as the rest of the magazine.

next we have important information, such as title manufacturer & price, these I added in the same font as the copy, its a functional part of the text and needs to be legible, clear and easy to read. The vertical spacing of these elements all move in increments of 4pt or 8pt depending on what looks natural. The main copy has a drop Cap, I noticed these are often a different colour to entice the reader in, the body text here is Proxima Nova at 12pt, I wanted it to wrap around the images and this random free form approach lends itself to adding quotation’s or lifting soem key passages from the copy. Finally the authors name is at the bottom in bold.

The final example of this exercise is a book review to appear in a newspaper, the one thing I noticed about newspapers is that no space is left unfilled. Again I chose a three column layout, there is something a bout three columns that seems to sit naturally regardless of the page size. This one was very simple in comparison to the magazine layouts. A nice bold header, this typeface is called Britannic and is at 24pt, then a 12pt body text at 12pt, with a small image, I imagined that to be the book cover, finished with a bold article by message. this stops short of the bottom of the page and this would likely be filled with the start of a new article, or a very small feature.

Assignment 4 Show Me

assignment 4 asked me to design. my own typeface for a magazine called TYPE, in addition I had to prepare three articles around what males a type face interesting, how a typeface is constructed and the question mark.

The first thing I did was prepare the articles, whilst doing that I began to collect some magazines titles that I liked the look of. It was clear from my favourites I collected I wanted something with a little character, only a few standard looking fonts were included, the ones that could be used elsewhere and maybe. not be obvious they was the same font. The other challenge I had was that this was a magazine about type, sop certain fonts were out of the question, like a handwritten script type for example. I started to think of old printing presses and maybe there was a way. to do something in a modern style. I started to experiment, but even that was its own journey.

I made a grid in photoshop, just three lines for a baseline, median line and an Uppercase height Line, I had thought that the font would be more impactful in uppercase, but didn’t want to shut down any lower case experimentation. The grid was good but very rigid, I didn’t take into account a gutter for each character, I decided to make something that worked for each letter and also offered more versatility. I did some loose scribbling but the grids were too flexible. I. then turned to the ipad and turned on the grids available in the procreate software, this was much better, I could turn the grids off when. they was a distraction draw shapes and curves more acutely, any small mistakes were easy to undo. I had found my preferred workflow.

The first grid I made was too rigid
The second one was more useful

I tried to draw purposefully, looking for a theme or common thread that would weave through my typeface design.

Once I had something to work too I moved the sketches into adobe illustrator, it was here that I added two serifs together and created. a familiar shape, it was from this I decided to base the font, I had read. in my research that typographers will look for something to add, a theme or a method, my serifs together looked like a bat with wings extended. It felt Gothic, like an old printing press maybe, this fit nicely, I called my typeface Barbastelle gothic, named after a genus of a bat.

In adobe illustrator I tried to build with shapes to add some method to the construction and consistency to the shape.
It did help create a flow. The head and tail serifs, I combined to make that. “bat” shape in the P

I had the start of my final design

I really enjoyed this assignment, it felt like a real challenge and was very rewarding, I don’t think my font would find its way. on many font foundry websites but i was pleased with what I created with my new knowledge on the anatomy of a typeface. It is something I would like to have another stab at another time.